This is for my friend, Chandra, who ate this chili at our soccer team end-of-season party and requested the recipe. Well, like much of what I cook, there's really no recipe. This was a throw it in the crockpot and see what comes out effort. What came out was pretty good, so I'll try and tell you what went in! I am guessing at quantities. I really did just start with the turkey, onions and peppers and then added tomatoes as needed.
1 package frozen ground turkey (from Aldi - not sure the weight, maybe 2 pounds)
2 -3 cans chili seasoned tomatoes
2 - 3 cans diced tomatoes
1 TBSP (or more if you want) chili powder
2 onions, diced
3 peppers (sweet red, yellow, orange or green), chopped
1 hot pepper
salt, if you need it
lemon pepper, if you like it (I do!)
Saute onions and peppers til soft. Add spices to saute. I do this in my 12' cast iron skillet. Put sauteed veggies in crock pot.
In the same skillet, brown ground turkey. Add to crock pot.
Add tomatoes to crock pot. Stir it all together. Taste to test. Adjust seasonings if necessary.
Set crock pot to high.
Go read a book.
Really. It's that easy. This is not a gourmet recipe, but a dump and go. I think I left it in the crock pot for a couple of hours til time to leave for the party! On a crisp fall night, sitting by a bonfire, accompanied by lots of other goodies brought by soccer moms, it was delicious!
Sunday, October 31, 2010
Saturday, October 9, 2010
Meal Planning and a new Mac 'n Cheese
I used to be so organized in my meal planning, but in the last few months, I've really slacked off. We still eat well, mostly, but I tend to spend more at the grocery store and am far less creative. I also feel more harried in the late afternoon on days when I don't have anything planned.
Soooo, I'm getting back into the habit of planning my menus and then shopping according to the plan. For the next couple of weeks, I'll be using recipes from the Moosewood Low Fat Cookbook. I've had this book for years and have enjoyed everything I've cooked from it, but as with most of my cookbooks, there are many, many recipes I've never tried. So, I'm branching out in an old favorite!
The first new recipe I've tried is Moosewood's Lowfat Macaroni and Cheese. Every time I ask Joel for meal suggestions, he requests mac and cheese. I don't make it that often because it is such a high fat dish, but the Moosewood version replaces eggs and lots of cheese, with buttermilk, lowfat cottage cheese, and extra sharp cheddar. These three ingredients give it a rich, smooth tang. Grated onion and mustard powder add a lot of flavor. The odd part of this recipe is that you add uncooked noodles to the cheesy mix. I wasn't sure how that was going to work out. I've always cooked the elbows first. But it did work. Quite well, in fact. It was delicious and incredibly quick and easy. Best of all, Joel loved it. This is definitely one I'll add to the regular rotation, at least once a month, for the sake of warm, cheesy comfort and Joel's mealtime happiness!
1 1/2 c 1% cottage cheese
1 1/2 c skim milk or buttermilk (I used buttermilk - that's what I'd recommend)
1 t dried mustard or 1 T prepared mustard (I used dried)
pinch of cayenne (or more)
1/4 t nutmeg
1/2 t salt
1/4 t ground black pepper
1/4 c grated onions
1 c grated sharp cheddar (4 oz.)
1/2 lb. uncooked elbow macaroni (or other tubular pasta)
2 T finely grated Pecorino or Parmesan cheese (Instead of this, I used a little more extra sharp cheddar on the top and no bread crumbs)
1/4 c bread crumbs
Preheat oven to 375. Prepare square baking pan with a light spray of oil.
In a blender, combine cottage cheese, milk, mustard, cayenne, nutmeg, salt and pepper and puree until smooth. In a large bowl (actually, I did this right in the baking dish), combine pureed mixture with the onions, cheddar and uncooked macaroni. Stir well. Pour macaroni and cheese mixture into the baking pan. Combine the grated Pecoino or Parmesan and bread crumbs and sprinkle over top.
Bake about 45 minutes, until topping is browned and the center is firm.
Serves 4.
Sorry, no picture. It disappeared too fast!
Thursday, October 7, 2010
H & H: Apples!
Clara and I go through a LOT of applesauce. It is one of her favorite foods. I like to eat it too, but I really love to bake with it. I substitute it for oil in all sorts of recipes. So, since we you can't drive half an hour in any direction from our house without reaching an apple orchard, it was only natural that we take advantage of apple season to make our own. To get our apples, we visited a favorite place from my childhood: the Apple Barn in Bennington, VT. They have all sorts of yummy things there, but our objective was the back room, where you can get "utility" apples for $7 a half bushel (about $0.29 per pound). These are apples that are not beautiful enough for the front room displays - they may have bruises, be funny shapes, or for some reason just didn't make the cut (half the time I can't tell what's wrong with them). But they are still delicious and perfect for baking or making applesauce.


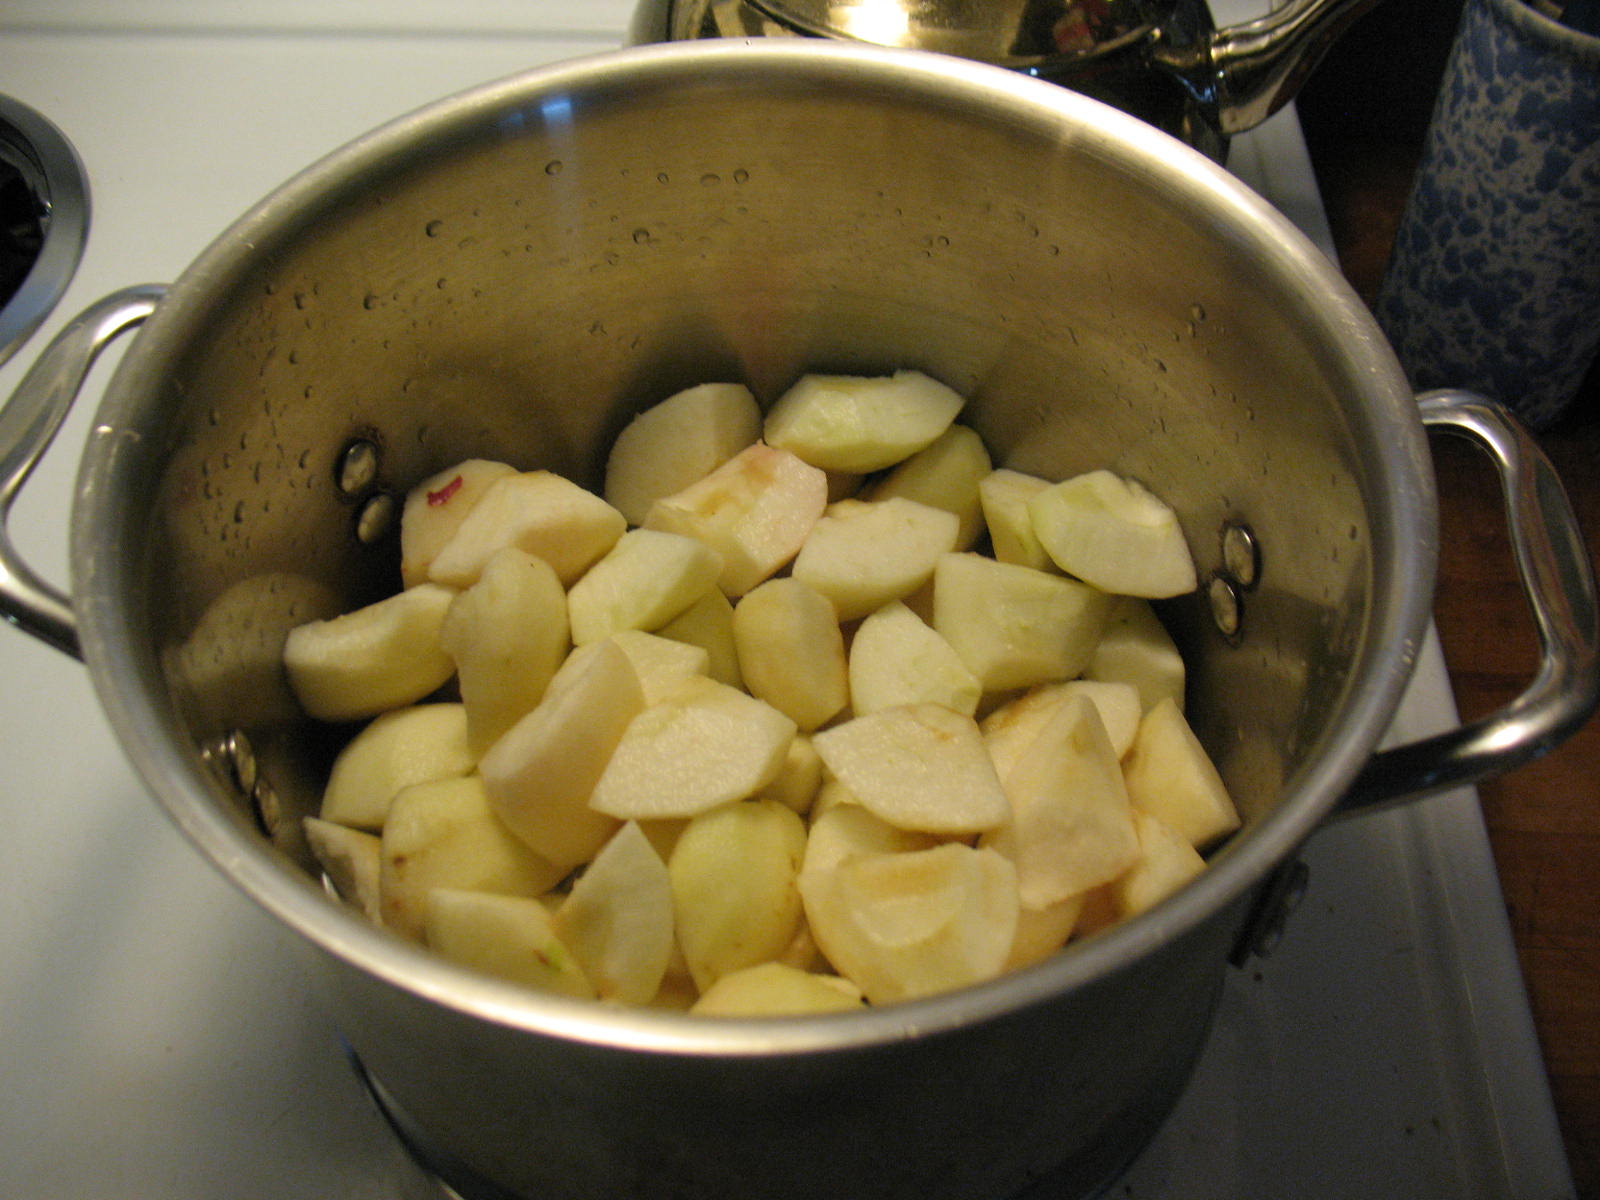
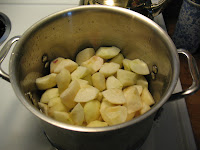 The apples then went into my biggest stock pot (I think it's 6 qts - not big enough!) with about an inch of water and a teaspoon or so of lemon juice in the bottom. I turned the burner on so the apples could cook as I was chopping the rest, and just kept adding until I couldn't fit any more without making it spill when I stirred!
 I cooked them for a good long while, until they were nice and mushy, and then pureed them in my food processor in batches. Because it was late at night, I put them in bowls in the fridge overnight.

 The next morning I returned the applesauce to the stock pot and reheated it while the jars and lids were getting sterilized.
 Once the jars were hot I took them out of the canner one by one, drained them, filled with the hot applesauce, added a lid and returned to the canner (sorry, no pictures of this part - you have to move fast and I didn't have anyone around to document). The filled quarts processed for 20 minutes, and then cooled on the counter.

Clara, of course, helped by being irresistibly cute.
 With my second batch, I did half in the stock pot and half in the crock pot. The stock pot got refrigerated overnight, the crock pot was on all night. The applesauce from the crock pot was incredibly dark, reduced by half, and had an amazing taste! Almost like caramel apples (it was also mostly Honeycrisps I separated out). The two batches switched pots after quick trips through the food processor. Here you can see the color difference!


I won't lie, in my low-tech kitchen this was a bit of a process. It's not difficult or tricky, just time consuming. Since I don't have a food mill, I had to peel, core and chop all the apples by hand (although with my second batch, Luke helped. He's wonderful!). 
 The apples then went into my biggest stock pot (I think it's 6 qts - not big enough!) with about an inch of water and a teaspoon or so of lemon juice in the bottom. I turned the burner on so the apples could cook as I was chopping the rest, and just kept adding until I couldn't fit any more without making it spill when I stirred!

 The next morning I returned the applesauce to the stock pot and reheated it while the jars and lids were getting sterilized.
 See how lovely and smooth it is?


Clara, of course, helped by being irresistibly cute.


Here are some of the finished jars next to a jar from my original batch.
 | ||
| Left to right: Crock pot honeycrisp, mixed, two stock pot jars, one jar from my previous batch. |
This applesauce is so, so delicious. Nothing from the store could ever touch it. Even if you don't can it, you really should make some this fall. It can be frozen, or refrigerated and eaten within a week or so (if it lasts that long). Clara was my taste tester and she fully approves! I think she ate 3 1/2 bowls without slowing down. :)
Subscribe to:
Posts (Atom)